Gardening enthusiasts and plant lovers often look for innovative ways to give their plants the best start in life.
One effective method to do so is through a propagator – a special environment where seeds or cuttings can grow in ideal conditions.
I remember growing up that my grandad would use all sorts of household containers as propagators, but he mainly used yoghurt pots and tomato punnets.
Our bedroom window would be full of these DIY propagators with a little polythene bag on top, after he’d planted his seeds and until they started to grow.
While there are many commercial propagators available in the market, a DIY approach can be both cost-effective and rewarding.
This guide will walk you through the process of creating your very own DIY propagator.
The Benefits Of Making Your Own DIY Propagator
Opting to craft your own propagator isn’t just about saving money; it comes with a multitude of advantages – let’s look at some of them:
Customisation: When you make your own propagator, you have the freedom to tailor it to your specific needs. Whether you have large seeds, small seeds, or a combination of various plants, a DIY approach lets you create the perfect environment for each.
Sustainability: Using repurposed containers or materials from around the house reduces the demand for new plastic products. This eco-friendly approach minimises waste and helps protect the environment.
Economic Benefits: While store-bought propagators can be costly, especially the advanced ones, creating your own can save you money. Most materials needed can often be found around the house or can be sourced at a minimal cost.
Educational Value: If you’re introducing children to the joys of gardening, building a homemade propagator can serve as an engaging educational tool. It provides hands-on experience and teaches them about the conditions required for seeds to germinate and plants to grow.
Flexibility: If you find that certain conditions aren’t ideal, a DIY approach allows you to make adjustments easily. Commercial propagators might not offer the same level of flexibility.
Space Management: Tailoring your propagator means you can create it to fit specific spaces in your home or greenhouse. This custom fit ensures you make the most of the space available.
Making A Homemade Propagator
To make a propagator at home, just follow these simple steps and tips:
1. Select A Suitable Container
Shoeboxes, plastic storage boxes, or even clear takeaway containers can be utilised as the base of your propagator.
What’s important is that it’s deep enough for the plants and can be sealed in a way to maintain humidity.
2. Provide Drainage
Before planting anything, ensure your chosen container has adequate drainage.
If it doesn’t have holes already, you can create some using a drill or a sharp object. This will prevent water from stagnating at the bottom and risking root rot.
3. Choose The Right Medium
For optimal growth, use a sterile seed starting mix.
This medium is light, allowing for good aeration and excellent water retention, giving seeds the ideal environment to germinate.
4. Sowing Seeds Or Planting Cuttings
Plant your seeds or cuttings as per their specific requirements, ensuring they’re spaced adequately.
Gently water the medium using a spray bottle or a gentle watering can to avoid disturbing the seeds.
5. Maintain Humidity
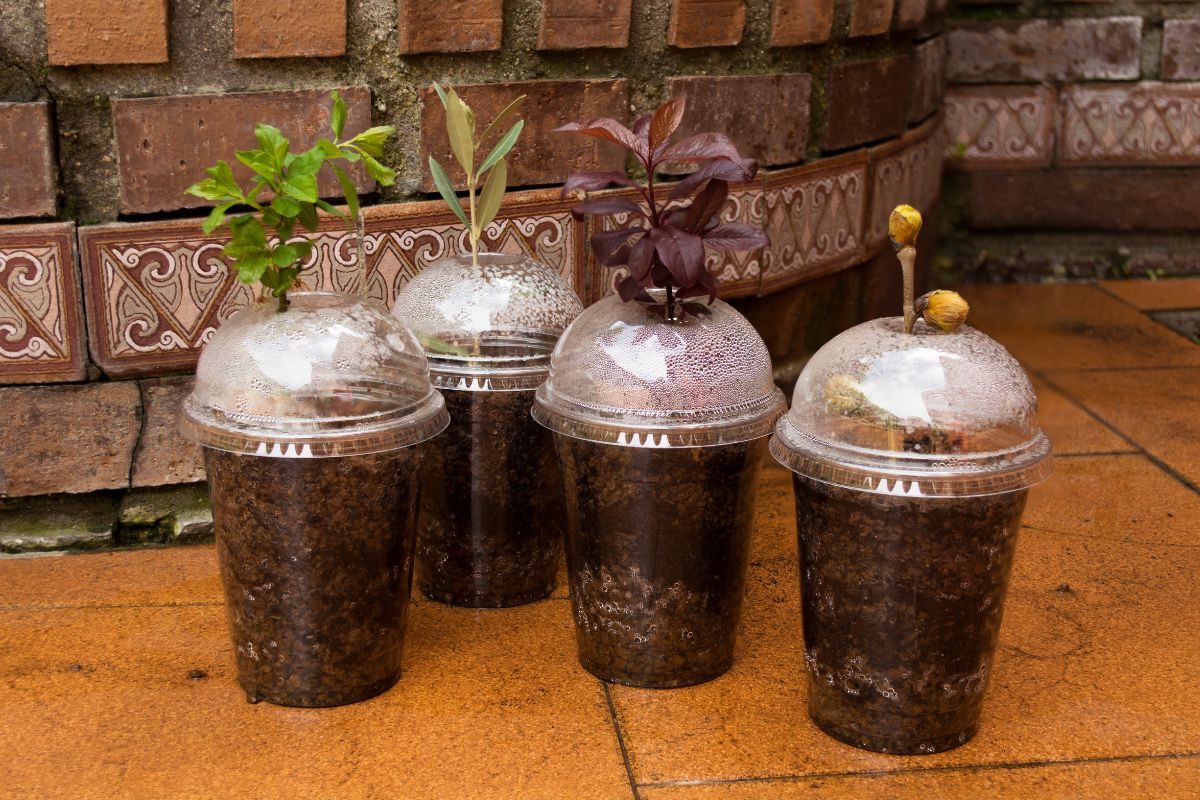
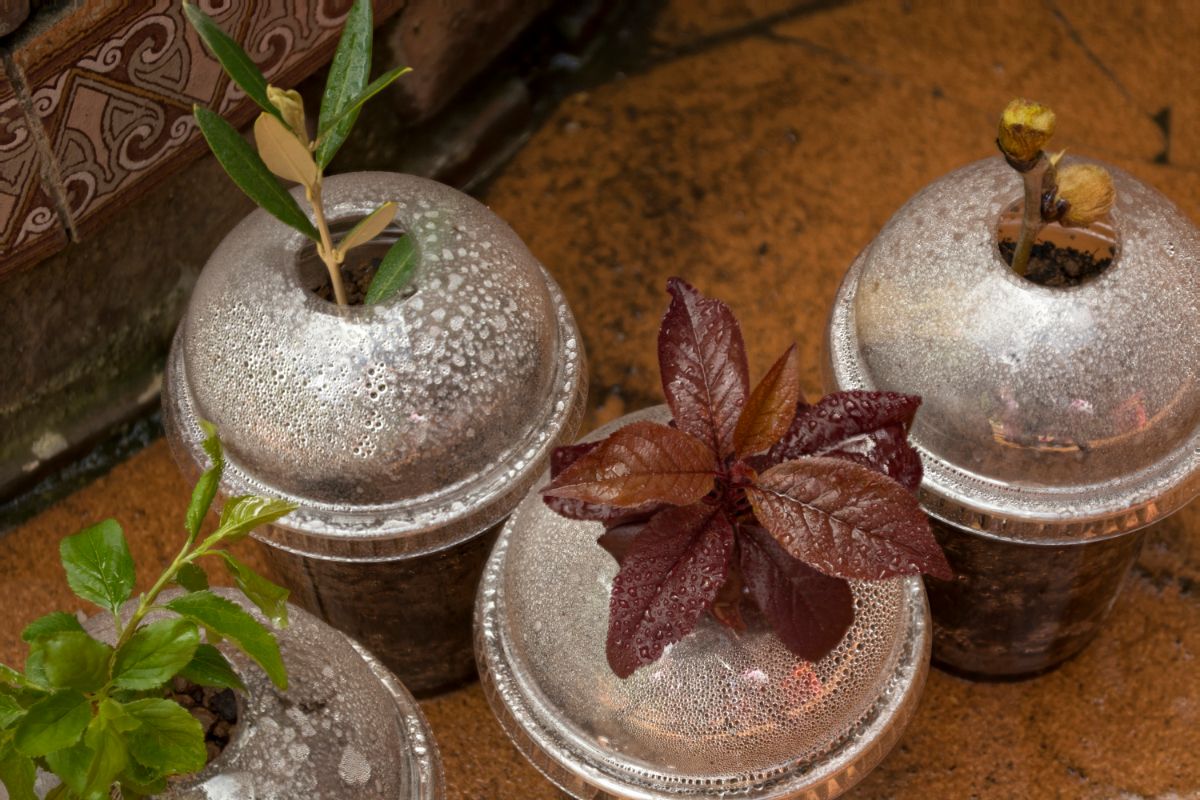
A propagator’s primary function is to maintain high humidity. To do this, cover your container with a clear lid or plastic wrap.
Ensure there’s a slight gap or tiny holes to allow for air exchange. This setup creates a mini greenhouse effect, trapping moisture and keeping conditions inside favourable for germination.
6. Place In A Suitable Location
The ideal location for your DIY propagator would be a warm, bright spot but out of direct sunlight.
Direct sunlight can heat up the container too much, potentially harming the young plants.
7. Monitor and Adjust
Check your propagator daily. Monitor moisture levels, ensuring the medium remains damp but not waterlogged.
If you see excessive condensation, open the lid slightly or make more air holes to reduce humidity.
8. Transplanting
Once your seeds have germinated and grown into young plants, they will be ready for transplanting.
Before moving them to their permanent spot, ‘harden’ them by gradually introducing them to the outside environment over a week or so. This helps them acclimatise and reduces transplant shock.
9. Clean and Store
After each use, clean your DIY propagator thoroughly to prevent any potential disease or pest infestation. Store it in a cool, dry place until your next planting session.
Final Thoughts
Creating a DIY propagator doesn’t require a huge investment. Often, items you already have at home can be repurposed.
Not only is it a sustainable choice, but it also provides a deep sense of satisfaction, watching seeds or cuttings grow in an environment you’ve crafted.
Whether you’re new to gardening or a seasoned pro, a homemade propagator is an excellent tool to have in your arsenal.

As I move into my mid-thirties, I find myself more eager than ever to enjoy having a beautiful garden. I’m also keen to grow my own produce where possible and enjoy a level of self-sufficiency.
As well as loving the great outdoors, I also try to live as much of an eco-friendly life as possible. so I absolutely love composting!
I’m definitely still learning about gardening and composting and I wanted to share this journey with you by taking it back to basics and learning from the ground up.
- Can You Grow Bell Peppers Indoors? A Guide For New Gardeners - November 14, 2023
- Composting Basics: Can You Compost Mushrooms? - November 6, 2023
- A Gardener’s Guide To Growing Carrots In Raised Beds - November 1, 2023


